Last Updated on: 6th March 2024, 5:46 am
Sell clothes that your customers design using the best online t-shirt design software.
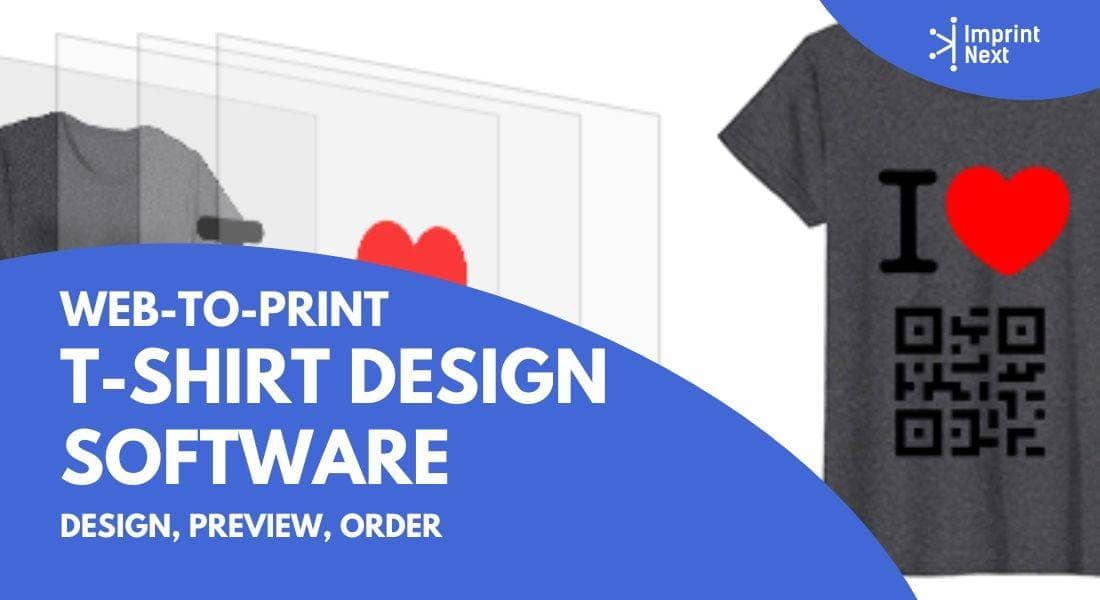
Your customers choose a piece of clothing, upload/create/drag & drop designs using the t-shirt design tool, preview design & order details and place order. You will print every individual piece of apparel and deliver. Else you can opt for PODs, we also integrate with them.
Is your online store built in Shopify, Woocommerce, Magento, Prestashop, or other eCommerce platforms? We will integrate the app in your online store so that you get started with selling personalized products in no time.
We will also help you set up your print-on-demand store with multi-vendor marketplace just like Printful and Printify.
T-shirt Design Software Features:
It’s super easy to sell custom apparel designed by your customers. The t-shirt design software features will help you deliver a special clothing line each time.
1. Customize & Print All-Over T-shirt:
Provide options for an all-over design on apparel.
Your customer can add different designs to specific parts of apparel. They can choose the full front, left and right chest, and back for individual graphics or logos.
The t-shirt design software then combines all the selected sections into one print job.
Moreover, you can define separate areas to give more creativity from your designer admin.
2. Chose Decoration Method:
The online t-shirt designer makes it easy to choose different decoration options.
When starting a custom design, the tool displays the print methods available for that specific t-shirt.
This includes methods like screen printing, DTG, embroidery, and dye sublimation. The customer simply selects the one they want to use.
However, they aren't locked into that choice and can actively switch to another decoration process right from the design screen if needed.
Moreover, you can set specific print methods from designer admin that customers can select as an option.
3. Allow Selection of Print Methods based on Order Quantity:
The designer tool automatically updates the available print methods depending on the number of t-shirts ordered.
When a customer selects a quantity, say 50 units, the tool actively defaults to screen printing since it's best for larger runs.
However, the customer can easily check different quantities and see how the suggested decoration process adjusts. For example, if they change to 5 shirts the recommended option seamlessly switches to digital printing which is more cost effective at lower volumes.
Behind the scenes, the store owner preset a quantity threshold that triggers these recommendations from the admin panel. This automated print method assignment by order size helps customers quickly choose viable decoration options.
4. Set Different Pricing for Different Print Methods:
With the price matrix, you can set product prices for your customers based on the type of printing chosen, the materials used, and the scale of the project.
Screen printing prices are outlined in a color screen matrix table that shows the pricing per color and details any additional charges for more colors or complicated multi-color designs.
Direct-to-garment printing costs are calculated based on the total design area and number of colors.
Embroidery pricing is listed in a stitch count matrix that provides the fee according to how many stitch files are embroidered.
You can apply setup fees to the first piece for any order to cover costs like artwork preparation and machine setup, while additional pieces are priced at a lower run rate. Now, give your customers full pricing transparency for customized products.
5. Apply custom design settings for specific product and decoration method:
Set design settings based on the decoration method and product selected by the user.
For instance in screen printing, you can restrict the use of gradients, complex imagery, and thin fonts to ensure all details can be reproduced accurately through the screens.
Similarly, you can apply specific settings for each print method and product to generate print-ready files optimized for each decoration production.
6. Embroidery Preview:
Your customers get a realistic preview of the final design by showing each of the elements like uploaded images, texts, cliparts and more will look after being embroidered.
This feature allows the user to see exactly how the threads will stitch out each part of the design on the fabric before actually embroidering, so they can check for any issues, make adjustments if needed and know what the finished result will be.
With the preview, small design errors or placement problems that may not be noticeable on screen can be spotted and fixed prior to embroidery.
7. Automatic Color Detection from Upload Images:
The ImprintNext’s image upload module analyzes images uploaded by the user, automatically detecting all the different colors present.
It easily recognizes each shade and hue and vectorizes the image, separating it into its various color components.
8. 360° 3D preview before checkout:
You customers get 3D previews of t-shirts, jerseys, hoodies, etc after they add a design.
The t-shirt design software automatically generates and displays a 3D model of the product with that design before proceeding with add-to-cart.
Backoffice Admin Features:
While your customers enjoy designing products, you control and manage all the stuff from the backoffice.
1. Complete Backoffice Management:
Actively manage your business operations through the ImprintNext’s ERP and CRM systems.
Configure the online designer tool to alter capabilities of the online design tool, create quotations and proposals for clients, receive orders and schedule jobs in the ERP.
Fulfill orders, generate and send invoices to customers.
2. Supplier catalog integration:
Import 10,000+ products and 50,000+ SKUs in one click from popular supplies like Sanmar, S&S, Alphabroader, etc.
Get the real-time inventory and pricing information of catalog products imported from suppliers.
3. Order Management:
ImprintNext's production management software handles the entire order management process. It generates print-ready CMYK files in common formats, work order slips, packaging slips, and provides all necessary order details in an upload folder for quick printing and fulfillment.
Artwork approval tools allow communication with customers to get designs signed off before production. Purchase orders are created from orders and sent to vendors, and job cards are automatically assigned to operators with order artwork files.
Generate unique barcodes printed for each step to speed up the production process by allowing scanning for tasks like downloading files, changing statuses, and more.
4. Job Card Manager:
Job card manager handles your order assignment and production tracking.
Assign job cards to the specific production operators, monitor their assigned jobs, download the necessary artwork and order details files using barcode scanning for quick access.
Scan tasks in and out to actively update the status in real-time.
5. Artwork approval:
When an order is placed, the artwork is automatically sent to the customer for approval before production starts.
Once it is finally approved, the entire history of changes, communications and approval is readily visible in an organized timeline.
6. Customer communication
Customers automatically get updates of order status throughout the entire production process.
If an unexpected delay occurs, you can quickly send a custom email to inform them.
7. Barcoding:
Generate unique barcodes instantly track each step in your orders and production.
You can keep track and maintain data through barcode scanning such as downloading artwork, creating invoices, packaging items, updating the order status, current production status, etc.


