
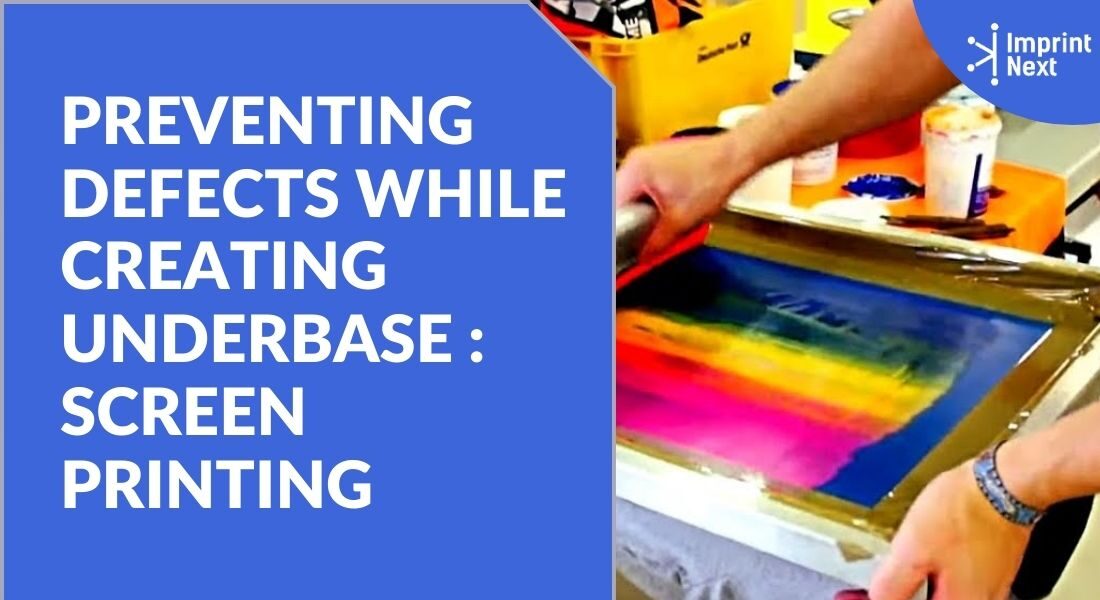
06 Defects to Prevent While Creating Screen Printing Underbase
|
3097
/
Last Updated on: 6th November 2024, 01:48 pm
It can be terrifying to know if a print base does not reveal it. The top colors of a pattern often should cover the underlying base completely; however, the white print on a dark fabric will sometimes happen to extend and look out from below the borders of the top colors.
Once customers see it, they may complain and even reject the job and do not take chances of the separation and build the base allowance to be changed based upon the tightening and consistency in registration.
The lighter top colors as red, blue, and green, will look fading if you are younger at the screen display and can even change without a base on a non-white shirt.
The base is normally printed in all colors of a logo except black. Creating screen print separation is not just an easy method to replicate and merge all the top colors of a display into an underlying.
Want to Boost Your Print Shop Revenue?
Schedule a free consultation
The final print will look like you have to think.
6 Ways to Prevent Defects While Creating Underbase:
The best ways to prevent defects while creating under base in screen printing are as follows:
1. Designing an Underbase:
You can see how a foundation for design works by simulating a digital mockup on alpha channels below an image source. You can use Adobe Photoshop to see what an underbase can do for a design.

Do you have printers? Are those printers sitting idle?
Become a Print-on-Demand dropshipping app like Printful or Printify. Dropship your merchants' orders.
Unlimited Merchant stores. Dropship and Fulfil Merchants' orders. Manage merchant invoice, sales commission, etc. Merchants sell the designed products in shopify, etsy stores, etc.
Know moreInsert each color division into a channel to create a channel, then print down each channel to display how the print is produced on the camera.
This has the advantage of seeing that the foundation is visible under certain colors. The only thing it takes is to pass through the middle of the Curves menu to see if the basis is appropriate to display over the edges of the design.
Prevent Spreading White Ink on Dark Garments:
It makes sense to compensate for spreading the white ink in different ways to avoid combatting it on press.
Perform strongly contrasting test prints and record kisses. A thorough test print shows how the press and other manufacturing areas need to be changed before compensatory work is paid on the edges.
2. Adjusting Artwork:
There are some ways to build a base allowance, so it doesn’t show. The trick is to change the art to retain as little as possible the look and edge consistency of the original design without running the risk of press problems.
The consistency of the work and other particular variables will significantly affect the functioning of the underlying alteration. If the job involves narrow lines and scattered bits, it can be reduced or omitted in several places when the base is contracted.
Boston based custom slide sandal maker has become $10 Million company using an online designer and unique growth marketing.
Read moreThis may be a challenge since the color can not appear. In this case, try to expand the color areas slightly. Or change the base and top colors halfway so that it does not harm the print.
You may create a system to mitigate this in artwork until you have changed equipment to achieve the lowest benefit at the bottom edges.
3. Using Photoshop for Underbase:
In Photoshop, please select the color channel for which you are adjusting the underbase and click on it. Select the active image area instead of the inverse.
Inside the underbase channel, you can edit a solid image’s edges by selecting the stroke command under the Edit menu and then stroke the edges by two to four pixels using the center option.
It will only trim the base to allow the top color to shift slightly and not reveal the base. This editing style is ideally suited for images with solid areas that need compensation.
A vibrant image and several tiny parts need to determine how many file changes can be made. For these instances, copy the underbase channel and version of the color channel.
You should then keep the copied channels open (with the eye chosen) and switch the original channels off so that the edits are the only available possibilities.
4. Applying Stroke:
After you make such copies, then add a stroke to both the border of any or all of the color channels. And to the foundation. For files with mainly strong borders, reserve the stroke command. Any blurred editing edges or gray areas that are stroked to the color’s boundary would produce unusual effects rather than accurate editing.
In vector programs like CorelDRAW or Adobe Illustrator, creating separation with a slight underbase contraction is similar.
The base element forms are slightly cut off at the edges and overlap with white to cover the top color section.
5. Adjusting Underbase in Screen Printing:
Perform the adjustment process carefully so that a shadow fade on a dark shirt looks right. Tests are often best performed. Particularly where the shirt color generates interest. And when the top color decreases when you are new to the halftone foundation.
A simple test file with a base fading into swats with a top color overprinted in various spaces will show how much you can do with a broken base and a semi-transparent top color.
Even a light base halftone can appear in places if the top color breaks, ruin the printed illusion, and make it seem grainy.
Cover the halftone completely with the top color without making the transition look too harsh.
The goal is to strike a balance that will allow the underbase to support the top colors yet remain hidden while they fade into the garment.
6. Get a Printed Value chart:
A printed table of values is an important tool for knowing the lowest and the highest color ratings and helps you to change the files to avoid excessive underlying diffusion.
The highest level of editing may require complicated painting. You need to stroke some solid areas of the underbase And separate some lighter areas of color to separate and chosen separately.
Use the curves menu to scale back the fade so that the top color will flow smoothly on top of it.
A design’s halftones should use the same angle in all colors, or else there may be frequency or pattern issues between underbase and top-color prints.
Exceptions to this rule occur if one has sufficient experience to print a 4-color device.
However, the easiest way to contract a subsoil without dots showing in the final print is to use a normal angle and dpi for all halftones for most printers.
Conclusion:
Checking your equipment, so you know just how much modification you require. To then trim the base or extend your top-color separations where appropriate is the best practice to prevent embarrassing underlying malfunctions.
In difficult cases, combine curves and choices to edit each area to ensure that the most color with the least underbase-exposure change.
Related Questions:
Is underbase necessary in screen printing?
Underbase is necessary for screen printing for when you print dark garments with plastisol ink.
What do you mean by choking in screen printing?
When the underbase artwork slightly reduces in size, it is called choking.
Is it necessary to use a white underbase?
When you print on white garments, it is necessary to use a white underbase.
Do you have printers? Are those printers sitting idle?
Become a Print-on-Demand dropshipping app like Printful or Printify. Dropship your merchants' orders.
Know moreMost Popular
-
 How Much Should You Price Your Embroidery Work?
-
 Top 20 Wholesale Blank T-shirt Suppliers in USA
-
 Top 8 Heat Press Applications you Have Never Known
-
 50 Most Creative T Shirt Design as Inspiration for Your Next Tee!
-
 Top 10 DTG Printers in 2024 with Price for Print Business
-
 How To Start A Clothing Line Business Of Your Own?